Packing for a 14er
I'm incredibly embarrassed to admit it, but I used to think you could get away with little to no gear on a hike in Colorado. On my first hike after moving here in the summer of 2016, I carried a heavy insulated bottle and nothing else up to Saint Mary's Glacier as my first hike at altitude, ever. Things have definitely changed in the 5+ years since then.
When preparing for any high elevation peak, I follow a formula to pack my bag the night before. Hopefully my method helps you pack for your own peaks, too! Or at least encourages you to consider some new items to bring along on your next ascent.
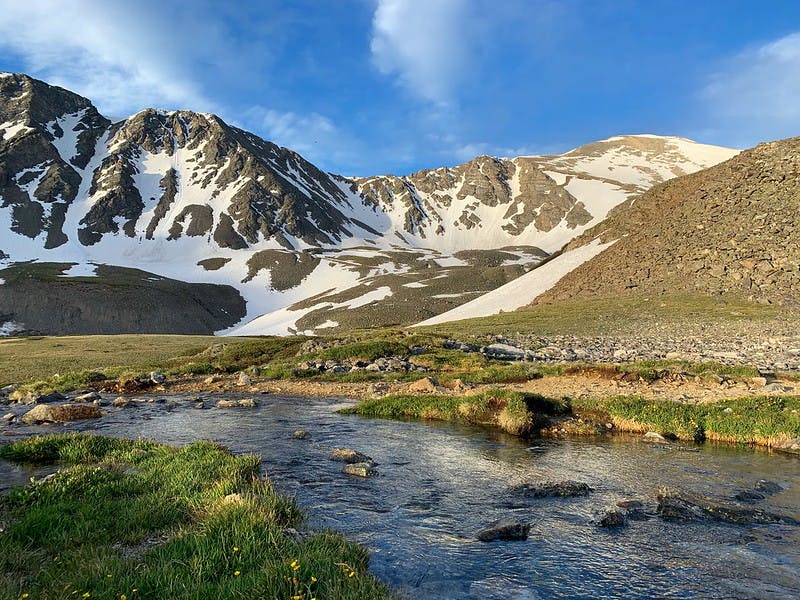 The view from Stephen's Gulch, seen while climbing my first high peak in July 2019.
Clothes
The first (and maybe most important) items to pack for a 14er are the clothes you'll wear.
You might have heard the phrase "cotton kills". It's an aggressive way to say cotton products are likely to run you cold if you sweat, and therefor can be unwise in what may be or quickly become a life-threatening situation. Synthetic fabrics are a better alternative because they both wick moisture away from your skin, and they tend to run a reasonable temperature regardless of conditions (i.e. stays cool in the heat & stays warm in the cold).
Layers I Wear
My preferred set of layers for nearly any climb are as follows:
- Tear-proof climbing tights or loose-fitting synthetic pants
- Synthetic shirt: long-sleeve in temperatures under 25℉, sleeveless above 75℉, short-sleeve in between those
- Long-sleeved wool layer (zip-up for cooler temps, synthetic quarter-zip for warmer)
- Wool socks in every season
Layers I Pack
Whatever you don't wear, you should have packed. Some of these items could be considered survival gear.
- Puffy jacket, packed down. A nanopuff-type material is ideal for this as it takes up the least amount of weight and space. Even in the summer I find I use my puffy, if not just on the summit itself. Down insulation is very warm, light, and can compress into surprisingly small spaces. While synthetic insulation may be a bit bulkier, it has the advantage of drying out more quickly than down that hasn't been treated.
- Combination rain & wind layer for whatever weather occurs.
- Extra hoodie. Even on top of the wool layer, it's nice to have one with a cinched hood ready to layer under your wind layer if things start to get intense (as they often do above 13k).
- Extra socks, gloves, beanie. Again, in all seasons. Summer in Front Range isn't quite the same as summer at double the elevation.
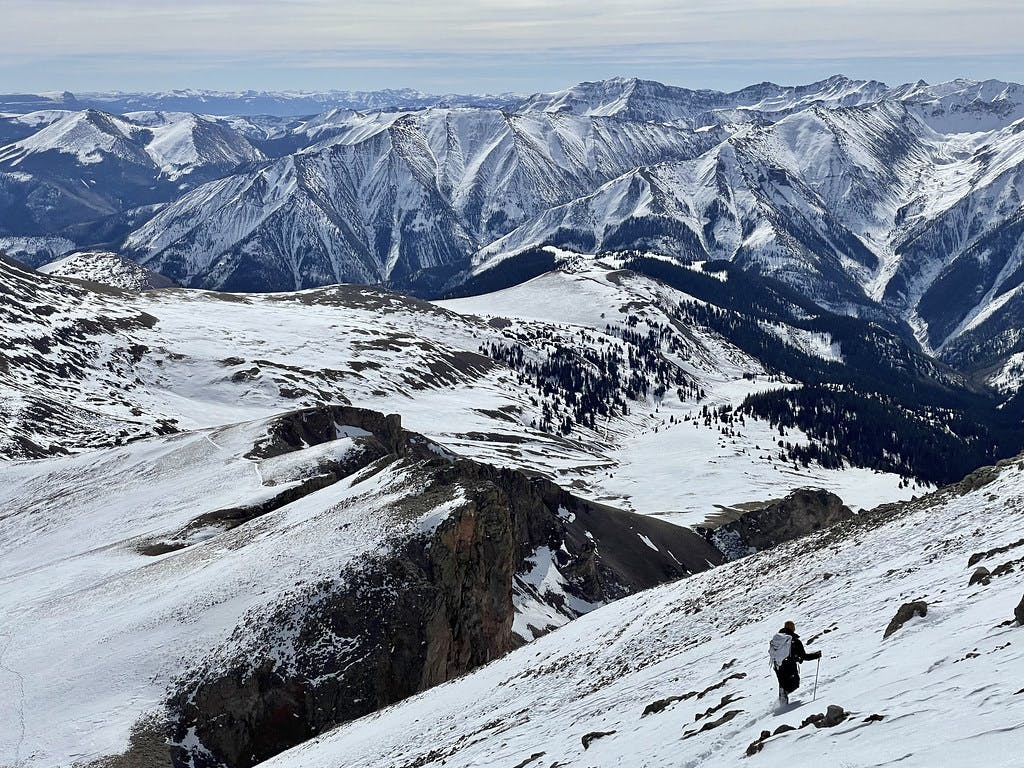 Descending Uncompahgre's south ridge in October 2021, my climbing partner Luis in sight.
Survival Gear
It's important to have a couple of different types of survival gear on hand when you're doing anything at altitude. I've split my survival gear into two different cases:
- Fire & Shelter Items
- A packable bivvy (I use one from the aptly-branded company "Don't Die in the Woods").
- A good old-fashioned emergency blanket, either for yourself or someone you come across.
- A backup lighter and wind-proof matches, just in case my backup lighter fails.
- Medical Safety Items
- Band-aids of all shapes & sizes. Be sure to rotate these regularly, I've found the adhesive seems to lose effect after being carried over time.
- Lightweight SAM splint
Satellite Communication Devices
I'm not advising every single hiker purchase a $600+ device in order to travel in the backcountry safely, but it is a very nice tool to have. The number of times I've taken my time on a route and run behind schedule, or run into bad weather and had to reevaluate my route and therefor update the person I've told about my intended plans (typically one of my parents, who live many states over, or, if he isn't with me on the climb, my fiancé at home).
Not only can you use a SatCom device like the Garmin InReach to text your loved ones, it offers Garmin-to-Garmin contact. I've found especially useful in scenarios where we all intend to meet at an off-the-grid campsite the night ahead of a climb. In addition to these features, you can toggle a MapShare to update with your real-time location as you move along your route. Your friends or family can navigate to a website to see these updates, or even compare your current route with the intended gpx.
Again, these aren't necessary for folks just getting started, but if you find yourself hiking solo more often than with a group, or want to offer some peace of mind to your far-away relatives, purchasing and carrying a SatCom is an excellent way to do this.
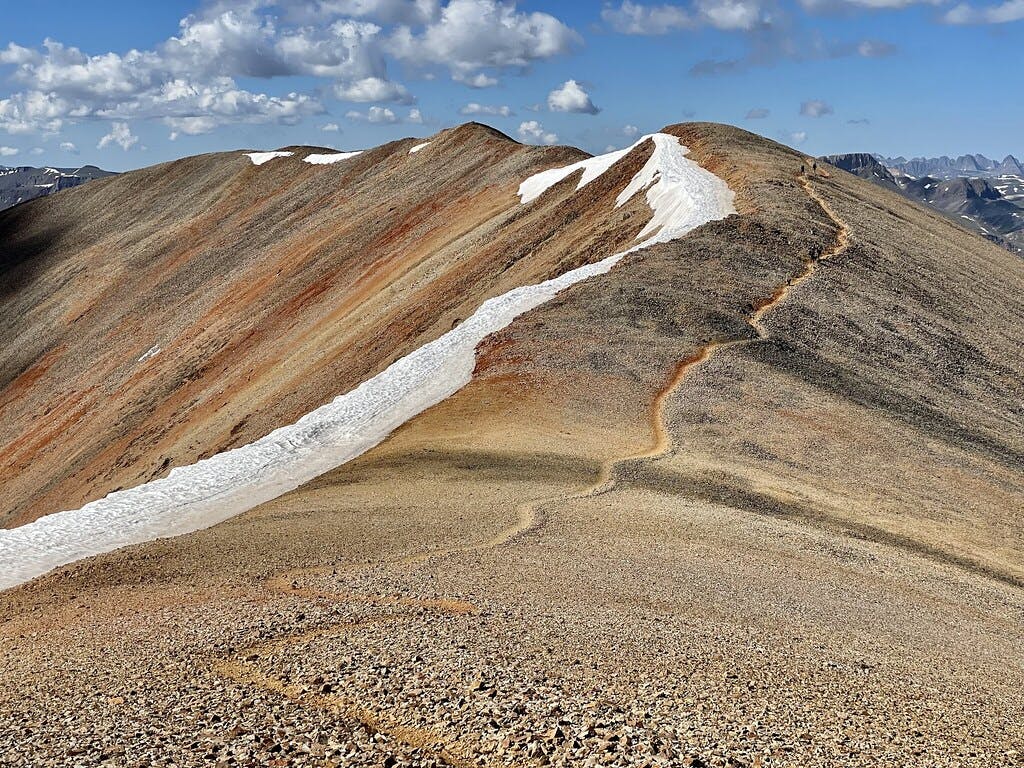 Dropping off of Redcloud Peak to ascend its neighbor, Sunshine Peak. July 2021.
Miscellaneous Gear
In addition to the clothes and emergency gear listed above, I carry a subset of standard items on nearly any hike. Even on shorter trail runs where I only wear a hydration vest, I will typically carry a couple of the following items just in case:
- Power bank & extra cables: I like to carry a micro-USB and USB-C cord in addition to my iPhone's lightning cable just in case someone in my party needs it. For this same reason it sometimes pays off to carry two lightning cables.
- Headlamp: I recently upgraded from a battery-powered headlamp to a combination rechargeable & battery-powered lamp and it has made a huge difference. If my lamp does die on an early morning or sunset hike, it's usually just a few minutes to get back to a useable power level when plugged into my power bank.
- Multi-utensil: Typically stashed with my snacks. Sometimes you need to stir something, or a friend needs a spoon to get the last of their trail snack out of its container. Whatever the case may be, I usually don't regret bringing this along- especially on a backpacking trip, even when I think I have my primary utensils (true story: we once crafted a spoon out of a branch in order to eat our rehydrated meal at the South Colony Lakes).
- Multi-tool: One with pliers is especially nice, you'd be surprised how often this tool is used to quick-fix gear on the trail.
- Duct tape: A few feet of duct tape rolled around a Sharpie and a handful of small zipties can go a long way in a number of situations. I keep these in a dry bag with some other emergency gear I don't want getting wet at the bottom of my 28L bag.
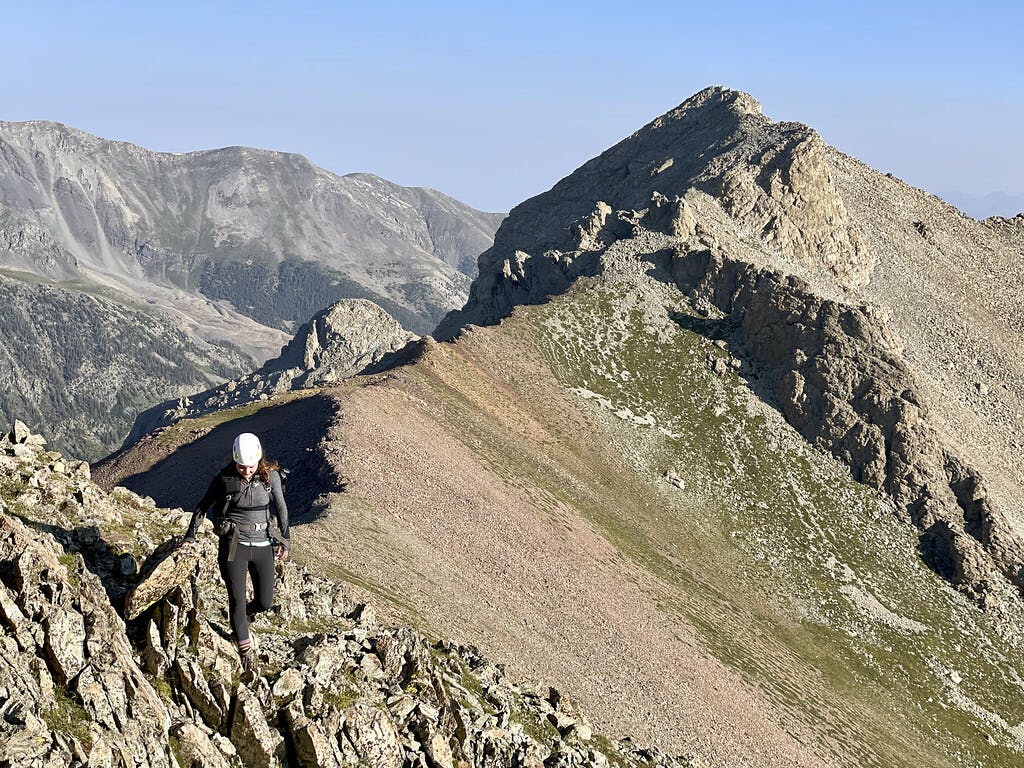 My climbing partner Ally moving along Mount Lindsey's lower ridge.
Snacks & Hydration
One of the keys to comfortably surviving your first 14er peak is caloric intake. Pack more snacks than you think you'll want to consume. On top of that, consider variety in your selection. Sometimes altitude sickness strikes in strange ways and you'll find yourself nauseous at the thought of a snack you would typically inhale without hesitation. Giving yourself more than just a sweet or savory option can go a long way in helping counter this.
- More than anything else, I've found fruit snacks to be the easiest thing for me to eat on a mountain. The Welch's berry mix, in particular, is quite nice.
- Single-use apple sauces have also been a go-to for me as of late. They're a little less sugary than the fruit snacks so I justify them as a slightly healthier breakfast item.
- I've started packing liquid powder packs to substitute Gatorade on summits. This allows me to drink multiple throughout the hike: every time the bottle is emptied, I can refill it using more water and a second or even third rehydration pack.
- Protein bars are a another staple I haven't gotten sick of... yet. Especially when there are so many different brands and flavors available. Bobo's lemon or Clif's hazelnut butter bars in particular, though, are top notch.
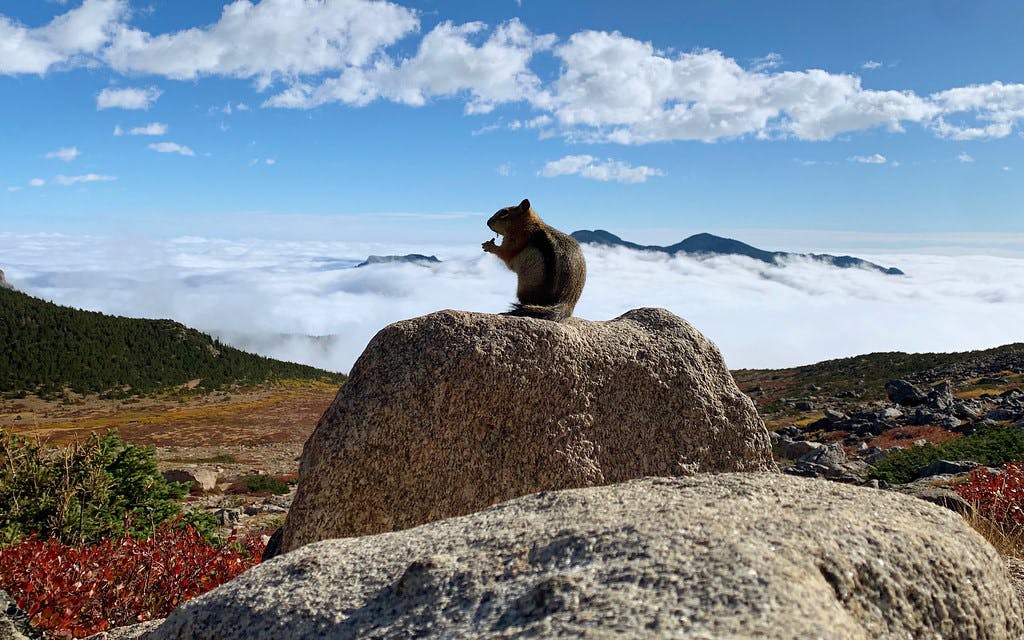 A squirrel enjoying a snack on Granite Pass, just below the Longs Peak boulderfield.